

A hoarder’s guide to wood storage
Do you actually have a hoarding problem if you can build efficient storage solutions for things that you can’t throw away? I’m not going to answer that question because I probably won’t like the answer.
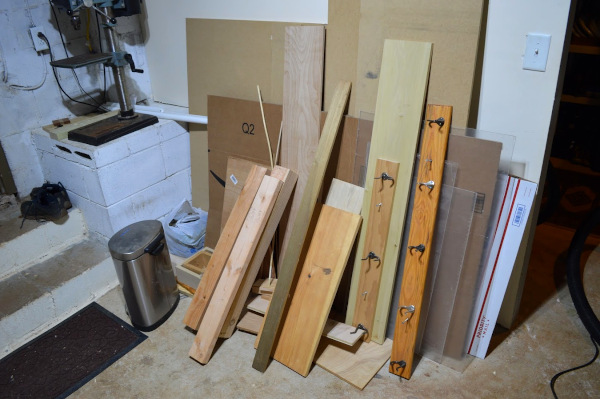
It’s not that I have a hoarding problem. It’s that I don’t like waste. I don’t think our throw-away culture is healthy. The best place for a woodworker to store their wood is at the lumber yard, but woodworkers will always have extra pieces from previous projects. I want to be able to save the cut-offs from bigger woodworking projects for smaller projects.
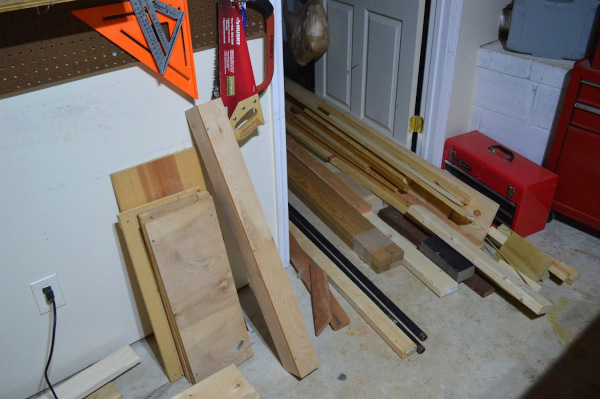
See? I don’t have a problem! I should totally buy more wood to store my other wood! This guy’s wood storage design looks simple enough.

This empty white wall is just asking to be the supporting role in a terrifying hostage video. We better cover it up with a wood rack.
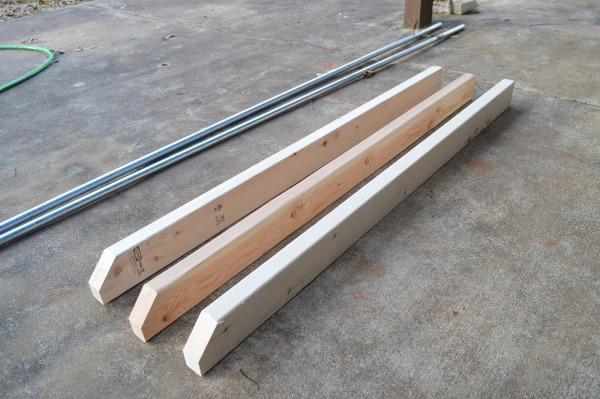
I started the project by cutting three 2x4’s to length, with a little 45° cut at the bottom to reduce chipping. These will be attached to the wall.
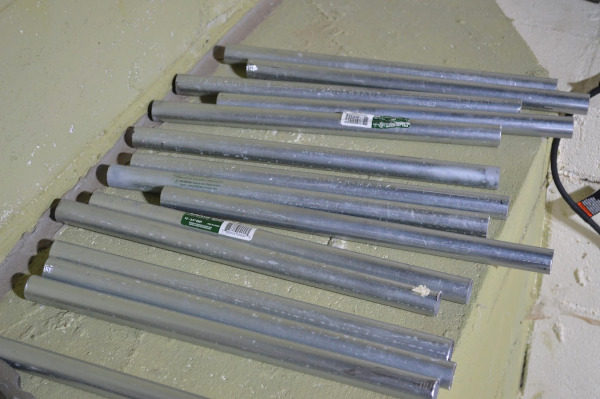
I then cut the pieces of metal conduit down to size with a reciprocating saw.
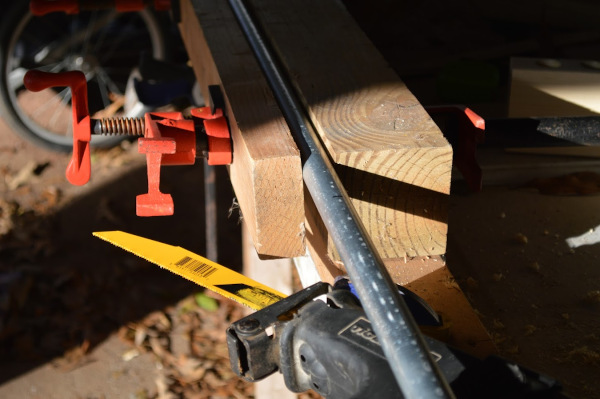
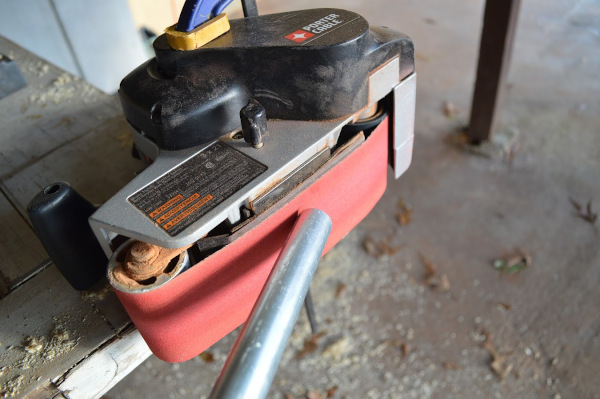
I don’t want to injure my delicate hands, so it’s important to clean up the rough metal edges. I don’t have a grinder or stationary belt sander, so I just clamped my belt sander to the table.
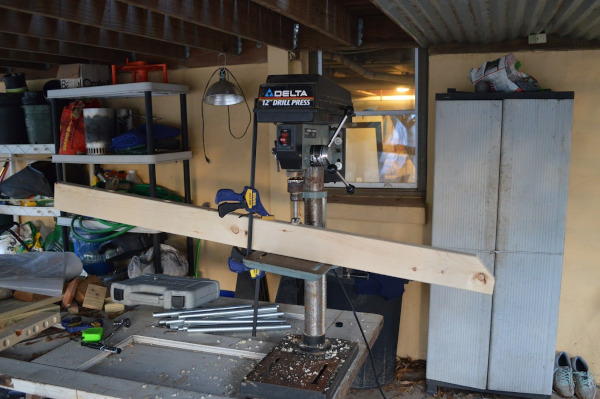
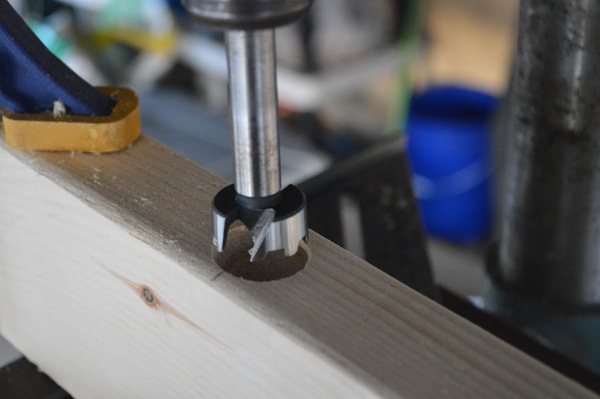
To increase the stability of the wood being stored on the rack, I wanted to slightly angle the conduit up. This means that I had to drill the holes into the 2x4’s at an angle. The drill press makes this job easy.
I knew I kept those two sets of forstner bits for a reason…
The hardest part about this project was installing the 2x4 supports on the cinder block wall. When drilling into a cinder block wall, the hammer drill makes a high-pitched crunching noise that makes me question home ownership and the integrity of the foundation.
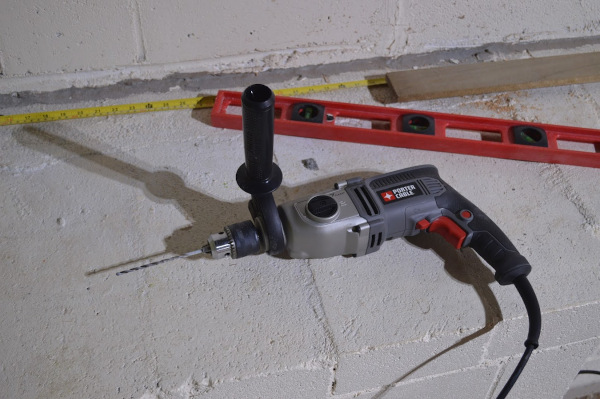
I had to use a hammer drill to put holes in the cinder blocks to accept the Tapcon screws I used to hold the wood against the wall. Despite following the instructions for the Tapcon screws, it seems that the suggested masonry drill bit sizes never work with their anchors. I don’t know what’s wrong. It could be that maybe I’m illiterate, but Tapcon uses color codes to match the suggested drill bits size with the appropriate anchors, so that’s not it.
After a few hours of white-knuckling the hammer drill and grinding my teeth, I was able to get three good anchors through each 2x4 and into the wall.
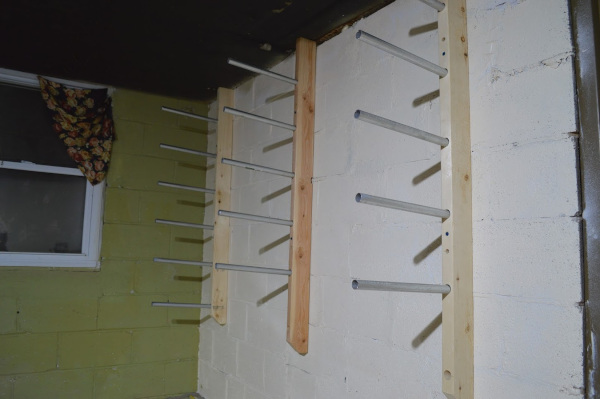
To make sure the rack will hold the pieces of wood level, use a bubble level across the conduit between two 2x4’s while drilling the holes for the screws. This will ensure that the stored wood will distribute its weight evenly across the supports.
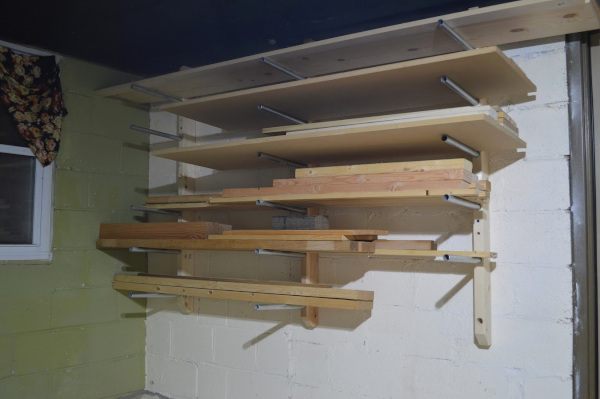
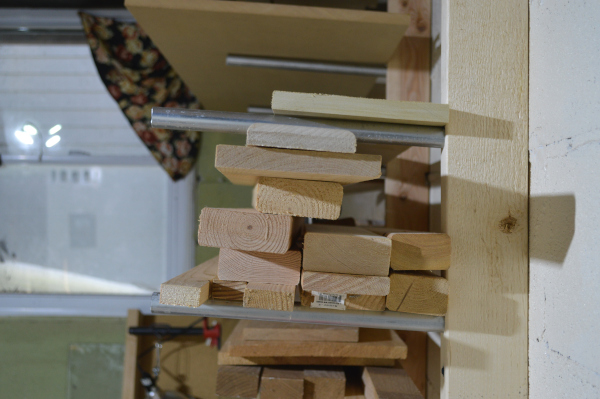
Yes, that’s satisfying. My shame is no longer on the ground, but proudly displayed on the wall.


Leave a comment