ROS Development in Docker
If you use the Robot Operating System (ROS) and you are frustrated with system dependencies, incompatible ROS / Linux operating system versions, and non-dete...

If you use the Robot Operating System (ROS) and you are frustrated with system dependencies, incompatible ROS / Linux operating system versions, and non-dete...
Do you actually have a hoarding problem if you can build efficient storage solutions for things that you can’t throw away? I’m not going to answer that quest...
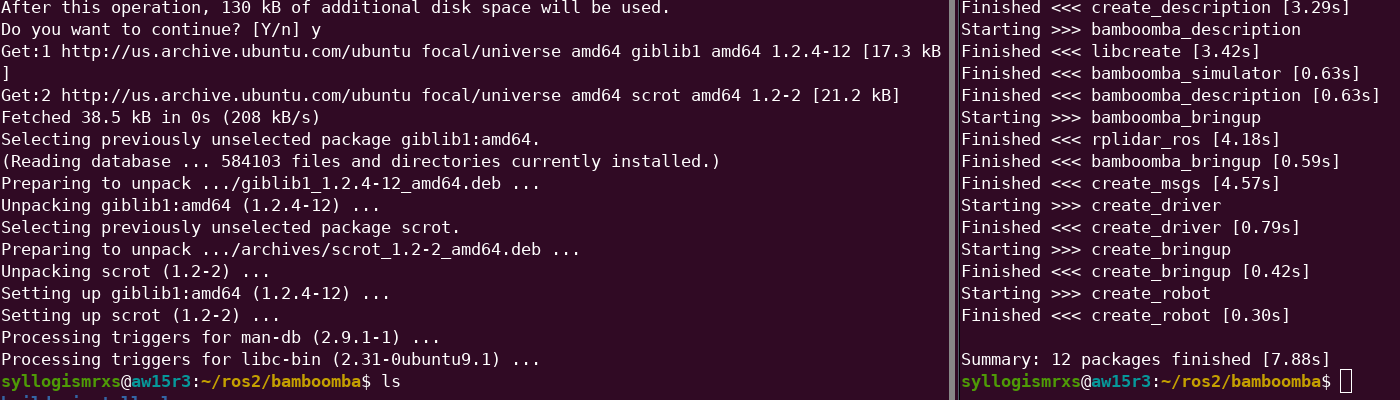
What do you get when you cross a Roomba…
There are several benefits to the use of pair programming in the software development process: fewer mistakes, better understanding of the codebase across mu...